The Paint Booth continued....
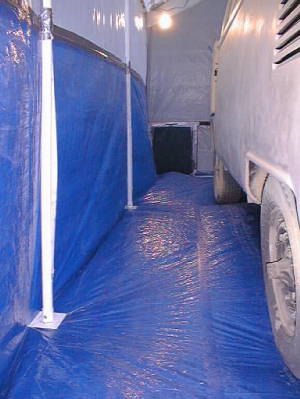 This photo doesn't do the situation justice, but basically what was
happening is that the three exhaust fans set on high were sucking out more air than could
be replaced by the meager inlets. So I expected the walls to become concave a
bit......but I didn't expect the floor to puff up like a balloon!
I will be installing more intakes!
I have also turned the two lower fans to medium, and put a whole bunch of 5 to 6 foot
2x6's along the edges and underneath the bus to hold the floor down. It's
disappointing because it totally destroys any illusion of cleanliness that the booth had,
but whatever works, right?
If you look closely, you can see that I need to do a little more bodywork!
Bummer!
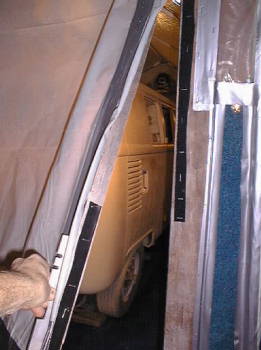 The doors are held closed
by Velcro, and the rest is duct tape and staples.
I can't believe how much duct tape I used (I was trying to be sparing). The act
of using 4 rolls of the stuff in two days causes much pain in the phalanges!
This is the main personnel entrance/egress unit (door). Very primitive, but it'll
work....I don't have a picture of the door itself and the car door working, so I should
have Michele take one or two.....just a sec.
....got 'em! I also realized, while loading the images, that I'll be needing a
foot cleaning area. In the initial ruminations, there was to be a double-door,
airlock-type construct, but that would take too much time/materials. Oh well.
I intend to mix the paint and spray without leaving the booth....we'll see how far that
goes........not sure where I'll put the bench yet, but a utility bench at each corner
sounds good.
Here's the pics of the doors wide open. Obviously, in the event of a buslike
vehicle actually leaving, I would either prop it up with poles or just flop the whole
thing over the crown of the roof.
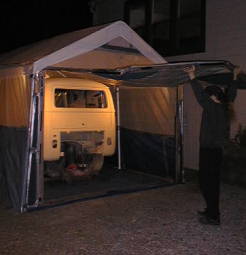
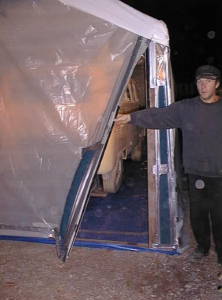 This is supposed to be a temporary unit!
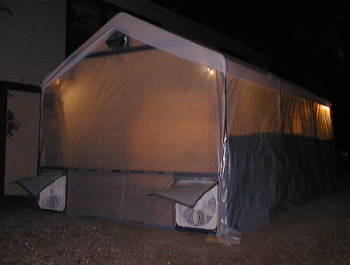
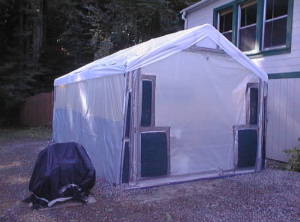
The last shot shows the last intakes I added.....these did the trick. Now the
intake and ouflow are balanced!
These furnace filters, which I am only using because they are waterproof, cheap,
re-usable, and allow enough air to move through them, are going to be sprayed with that
activator stuff (basically a static-y adhesive), and I may end up putting a thin filter
layer of something much finer on the inside of the intakes...
As far as power goes, I've run a heavy cable to the three fans on one circuit, and on
another, I've run cable to a power strip, and then branched out to the lights. These
lights are not nearly enough, but they do help, nonetheless, and my budget is a withered
grey thing dying in the wasteland of this obsession.....
Contrary to the way it may look, this booth is actually quite airtight (relatively
speaking, of course). Due to the extreme nature of the vacuum when the fans are on
high, you can hear and feel any significant amount of air moving. I think that this
will do for now.
With the exception of a couple more intake vents and the work benches inside, I think
I've got a pretty decent place to paint!
Too bad I can't open the front doors of the van all the way......
Progress 1
Progress 2
Progress 3 Paint
1 Paint 2
Paint 3 Interior
1
Shop
Compressor
Booth 1
Booth 2
Booth 3
Blast Cabinet
Bartholomew
('60 Crewcab) Mt.
Shasta Trip Report Links
page
mizamook@sonic.net
(Gene)
 This photo doesn't do the situation justice, but basically what was
happening is that the three exhaust fans set on high were sucking out more air than could
be replaced by the meager inlets. So I expected the walls to become concave a
bit......but I didn't expect the floor to puff up like a balloon!
 The doors are held closed
by Velcro, and the rest is duct tape and staples.
 This is supposed to be a temporary unit!
